Pages

Friday, April 13, 2012

Homemade Classic Chicken Soup

When it looks like this outside the last thing I want to do is venture outside the confines of my warm apartment. Early this morning I decided to make one trip out into the deluge. Inspired by the cold I picked up the following items:

It's really (almost) this simple. This recipe tastes better than, and costs less than Progresso Chicken Noodle Soup, with less fat and sodium! Since it was rainy all day and I didn't really have any excuse to leave my house I picked up a whole chicken and slow roasted it all morning. This takes several hours so if you prefer, just use a ready-made rotisserie chicken (typically $7-$10 at your local supermarket). If you roast your own chicken do so an hour in advance to give it time to cool before you dig in and make sure it's well done and moist so the meat falls right off the bone.

Chicken Noodle Soup
Prep Time: 20 minutes
Cook Time: 1 hr

5 cloves of garlic
2 large carrots
3 celery stalks
1.5 white onions
1 whole chicken
1 qt + 1 can chicken broth
1 bag egg noodles
1 bunch parsley
sea salt
pepper

Start by sautéing your chopped soup base (onion, carrot, celery, garlic) in a pan for 5-7 minutes or until the carrots start to soften and the onions are almost translucent. 

Transfer the cooked veggies into your large soup pot, cover them in chicken stock and one cup of water, add a dash of black pepper and bring them to a boil over medium heat. Once the liquid boils reduce to low heat and let the veggies simmer in the chicken stock while you take care of your chicken.

 While the stock heats up begin removing the chicken from the bones. This is a pretty messy job so don't be afraid to get your hands dirty. One chicken should provide over a pound of meat. Chop the chicken so that the pieces are less than an inch wide then add it to your simmering veggie mix.
By the time you add the chicken your soup pot will probably be pretty full. Top the liquid off by adding water until level it covers both the meat and veggies an inch of liquid. Turn the heat up and bring the whole thing to a boil. Once you reach a boil fill the rest of the pot with egg noodles and stir the soup to combine them with the rest of the ingredients. Reduce the heat and let it simmer for 30 minutes. 

Get cozy, crank up Netflix and enjoy your warm, delicious, homemade chicken soup! 


Friday, April 6, 2012

(Im)Patiently Waiting for Summer - Summer Squash Pasta Salad Time!

With spring in the air a new host of fresh vegetables and herbs is available. Here in Los Feliz the neighbors have taken to landscaping with a friendly mix of herbs, fruits and vegetables. Rather than spend a fortune on rosemary, chives, citrus…etc. We take a stroll down Finley Ave to chat with the neighbors and return home with our hands full!

To make good use of our fresh finds I whipped up an inviting summer salad and herb infused grilled flat bread (more on that later).

Zucchini and Pasta Salad

Prep: 10 minutes
Cooking: 20 minutes

2 or 3 medium sized Zucchini
1 Yellow Squash
1 White Italian Squash
1 yellow onion, diced
4 cloves garlic, minced
½ package of cherub tomatoes, halved
½ cup fresh grated parmesan
olive oil
½ cup white wine
2 tbl honey
3 springs fresh rosemary
pasta or egg noodles
Sea Salt/Pepper

Large salad/mixing bowl

Cook your noodles first so you can strain and let them cool a little bit before adding them to your salad.

Cook the onions garlic and rosemary in a healthy amount of olive oil until the onions begin to wilt. Once things are really sizzling add the white wine and honey. Let this mixture cook for a few minutes until the onions are translucent and take on a really rich flavor from the wine and honey. Pour the onion/garlic mixture into your salad bowl, leaving some of the liquid in your pan to cook the squash. Add some black pepper to the onions and let them rest uncovered.

 Next, add the squash to your hot, oiled pan. Squash should be cut into ½ pieces. If the pan is too dry, add some oil to keep things from sticking, not too much though as you want your squash to brown a little bit, not drown in oil.  Hopefully you were able to reserve a decent amount of the liquid from the onions to cook your squash so they will pick up some of the rich flavor from the honey/wine mixture.

Once the squash are fully cooked add them to your resting onions, add your tomatoes and Parmesan and then toss the veggies together before adding your noodles. Stir the noodles in with a wooden spoon to keep from breaking them apart. Wait until the last step to add your salt as you might find that the combination of tomatoes cheese and wine does the trick!

This recipe is delicious served both hot and cold. I like to refrigerate it for a couple of hours to let the flavors really come together.


Tuesday, March 27, 2012

Chocolate & Pear Tart: A Stay-cation Indulgence


I called Aaron at work the other day. I was bored; it was just 3 days before my last day at work and the beginning of our two week staycation. I was hoping he would be willing to take a short break and entertain me - just for a few minutes. 

me: Hi! What's going on... just three more days!!!!
Aaron: Honey, I'm really busy, I can't talk right now. 

*click*

Grrr... not exactly the reaction that I hoped for. I picked up the phone and dialed again. 

Aaron: What? I told you, I am swamped. 
me: I'm making a pear tart this weekend.
Aaron: Whatever, I have to go. 

*click*


Usually the threat of decadent, indulgent baked goods gets him to listen, sometimes because he is looking forward to eating them, but usually because he tries to put the kibosh on future fattening concoctions showing up in the kitchen. His brush off meant that I would be making a tart that evening!  

I raced home from the office and started whipping up a crust so that the tart would be well underway by the time that Aaron got home. Mission accomplished! The crust was complete before Aaron arrived, and I was halfway through the filling before he realized what was taking place in our kitchen.


 Recipe after the jump!

Thursday, March 8, 2012

Farm to Table isn't as cool as Garden to Table!


Since moving to the Hudson River Valley, we have decided to fully embrace the farm-to-table movement, eating local and shopping at the farmers market, and even the actual farm when we can. The mild winter and seed displays at the local nursery have inspired me to try growing my own tiny vegetable supply.


Living where the suburbs meets the country has left me with the illusion that I have a green thumb. I had some success in Hoboken with flowers and herbs, but really only fool-proof stuff like basil and hydrangeas. Despite multiple attempts, I was never able to coax an actual vegetable out of a plant. I keep telling myself that this time will be different. Right.

Our backyard looks like it could be a film set for Bambi in the summer, which does not bode well for my potential harvest. I am not willing to fight the bunnies and groundhogs for my produce, so my mini-farm will be limited to what I can fit in pots on the deck.


I started small, ordering only green zebra tomatoes (why not go big with heirlooms on the first try), sugar-baby watermelon and zinnias from the Landreth Seed Catalog to get started. Apparently I am not the first person out here to feel inspired by the area - the local nursery had an entire display of seed germinating kits for dummies at the front of the store. They do everything but actually plant and water the seeds for you. If this doesn't work, I am truly pathetic.

I can do this! Two weeks later, I have a plethora of zinnia sprouts, but only two anemic looking little tomato plants peeking out of the soil. Watermelon seeds will be planted this evening. Stay tuned for updates on how this experiment progresses. Will this be my first and only foray into starting with seedlings, or will I be so successful that a greenhouse is in order to start the variety of seeds I will want next summer?


Posted by Picasa

Monday, March 5, 2012

Homemade Thai Feast

Los Angeles is the land of sunshine, beautiful people and opportunity. It’s a melting pot of cultures and attitudes. To expect delicious worldly cuisine here goes without saying.

For those of you that are unfamiliar with Los Feliz, it’s a culturally vibrant, creative hotspot adjacent to Hollywood. My one-room studio apartment overlooks the Griffith Observatory and the Hollywood Hills. There is plenty of natural light and a modest kitchen. The all-white kitchen is replete with fridge (a luxury here in the world of Los Angeles rentals), Gas Cooktop, Gas Match-light Oven (affectionately referred to as "vintage"), Sink (also "vintage"), and one power outlet. There is no microwave, nothing is reheated, and all the food is fresh.

What we lack in luxury and fine technology we make up for with creativity and flavor. Even if you find yourself in a tiny space in an expensive city, there is no reason to settle for so-so food and no excuse for not eating fresh, homemade, and in season.

On this particular Thursday night we whipped up one of our favorite take-out specialties. We made drunken noodles with shrimp and steamed shrimp dumplings. Drunken noodles or Pad Kee Mao is a traditionally spicy, Chinese inspired dish that one would find in a Laotian or Thai kitchen. If you find yourself without the means to visit our friends in the East you can pick up a delicious interpretation at Pattaya Bay on Vermont Ave. or try your hand at this simple recipe!


Steamed Shrimp Dumplings

Dumpling Wrappers (found in the refrigerated section of your local grocer)
½ small head of Green Cabbage
½ lb Shrimp
6 cloves Garlic
2 tablespoons chopped Ginger Root
Sesame Oil (a bit pricey but worth it. If you must, cut it 50/50 with a cheaper oil)
Black Pepper
Green Onions
1 Egg

You cannot have too much fresh ginger or garlic in a steamed dumpling, so don’t hold back. We cooked the fresh ginger, garlic, green onion, cabbage and shrimp in a generous amount of sesame oil. After it was done cooking we tried chopping it to get the fine consistency that you normally find in a dumpling, but this proved to be very messy. A whirl in the food processor is a better bet.


The key to successful dumpling folding is raw egg. Crack your egg into a cup or bowl. Every time you reach for a fresh dumpling wrap, use your fingers to coat the inside of it with raw egg; it’s like delicious dumpling glue!

If you don’t have a steamer try this: strainer on top of a soup pot with a lid! Make sure you coat the strainer with a generous amount of oil or cooking spray. Otherwise the dumplings will stick and you will find yourself with yet another delicious mess. Also dumplings will stick together so unless you oil your dumplings avoid letting them touch in the steamer, or risk messy, ugly, albeit delicious dumplings.


Drunken Noodles with Shrimp

Jalapeno Pepper
Serrano Chili Pepper
Thai Chili Pepper
Basically any spicy pepper you can get your hands on
Large Red Bell Pepper
Sweet Onion
Thai Basil (or regular basil)
Shrimp
A ton of Garlic (about 10 cloves for one pack noodles)
Fresh Ginger
Soy Sauce
Fish Sauce (WARNING: Do NOT smell the fish sauce)
Brown Sugar
Wide Flat Rice Noodles
1 Egg

Sauce: For one pack of wide flat rice noodles we use less than ¼ cup fish sauce, 1.5 tablespoons brown sugar and about 1/4 cup of soy sauce.

It's important that you do not boil and strain your wide flat rice noodles. Place the noodles in a large pot or bowl, pour hot water over them and let them soak for about 30-minutes. Stir occasionally so they don’t stick together.


Cook your peppers, onion, garlic, and ginger in a generous amount of oil. Once they are about ¾ of the way cooked, add your brown sugar, basil, soy sauces, and fish sauce. WARNING: fish sauce smells TERRIBLE my cat wouldn’t even eat it. When you smell the fish sauce don’t fret, your food is not ruined. Like strong vinegar, when you reduce the sauce the pungency cooks out and it’s delish.

Once your noodles are soft enough, drain the water and toss them in with the egg and the rest of your ingredients. Serve the searing hot mixture over a bed of lettuce or cabbage.

Monday, February 27, 2012

Lazy Sunday Lunch: Mushroom & Pesto Paninis


Saying that it has been a crazy year is perhaps the understatement of the decade around my house. Since I have been gone, life has completely changed. We moved from a city apartment to a country house, changed jobs, and most significantly, had a baby. In the midst of all that we dealt with hurricanes, blizzards, lay-offs, among other things related to relocating and having kids. This past weekend was the first time in a long time that Aaron and I were able to sit back, relax, and enjoy a few serene and peaceful days. This meant that rather than quickly reheating leftovers for lunch between errands on Sunday, we actually had the time and energy to make something.  


One of our favorite things about living in the Hudson River Valley is that we are really able to indulge in true farm-to-table cooking. We shop almost exclusively at our local farmers market, when we are not visiting the farms themselves. While we do enjoy taking locavor-ism to an extreme, it isn't without challenges during northeastern winters, as the selection becomes, well, pretty limited. After weeks and weeks of all variety of squash, Aaron couldn't take it anymore and demanded a change. So...

We moved on to mushrooms! Not very exciting, but at least something a bit of a deviation from the endless kabocha and butternut we had been eating through the dark days of winter. Fortunately I did have a container of homemade pesto tucked away in the back of the freezer waiting for that moment that comes towards the end of every winter when you are desperate for even the smallest taste of summer.


In 2011, this blog wasn't the only thing to go on hiatus. I also took an unfortunate break from bread making and am only slowly starting to get back into my former loaf-a-weekend groove. I have an enormous lack of trust in my oven - somehow I seem to burn everything - and fear of failure has made me apprehensive about getting started again. Though I dreamed of ciabatta for the panini, a simple white sandwich loaf was about all I could muster.


Add some creamy fresh mozzarella from the Italian dude at the market, and lunch is ready!


Friday, February 24, 2012

It's been a little quiet around here...

Might be time to get this thing cranked back up. I never intended to go dark for so long, but a lot has happened. A move, a baby, a new job...

Hoboken Cupcake is in Hoboken no more. We picked up and moved to Northern Westchester county, just above New York City, where I hope to take advantage of all of the farm-to-table goodness that the Hudson Valley has to offer.

In addition, my sister, the Los Feliz Burrito will be contributing from the west coast. I'm hoping she can keep things exciting in the darkest months of winter when there is nothing but turnips and potatoes for me to write about.

Stay tuned for a blog facelift and some new content.

Cheers!

Tuesday, December 21, 2010

I am currently away from the computer...

It is with much sadness that I put up this away message, signaling that Hoboken Cupcake is on temporary hiatus. Aaron and I are in the progress of boxing up our home so that we can eventually move to a new home, hopefully with a full gourmet kitchen that gets bathed in natural light!

I will likely post sporadic updates, including news from our February vacation to South America. Otherwise, I hope to pick things back up as soon as our home sells. Hopefully, that will be sooner rather than later.

Cheers!

Sunday, November 28, 2010

Thanksgiving - we pulled it off.


The last dish has been washed and put away, and now my family is sprawled out in the living room groaning silently. It is Thanksgiving. In typical fashion, Aaron and I went completely overboard and managed to organize a true day of gluttony. Despite my failed macarons and general "mehs" during the planning process, dinner was successful and surprisingly stress free. Quick planning and organization allowed us to pull off the meal in our tiny kitchen while engaging with our families - at least a little bit. That being said, now more than ever, it is clear that we need to move to a house. 

Pinot noir to go with the turkey. 
Here is the menu: 

Thanksgiving 2010
Winter squash soup with gruyere cheese
Pear and pomegranate salad

Semolina bread

Roasted acorn squash
Sauteed brussel sprouts
Roasted broccolini
Root vegetable puree
Cranberry sauce with persimmons

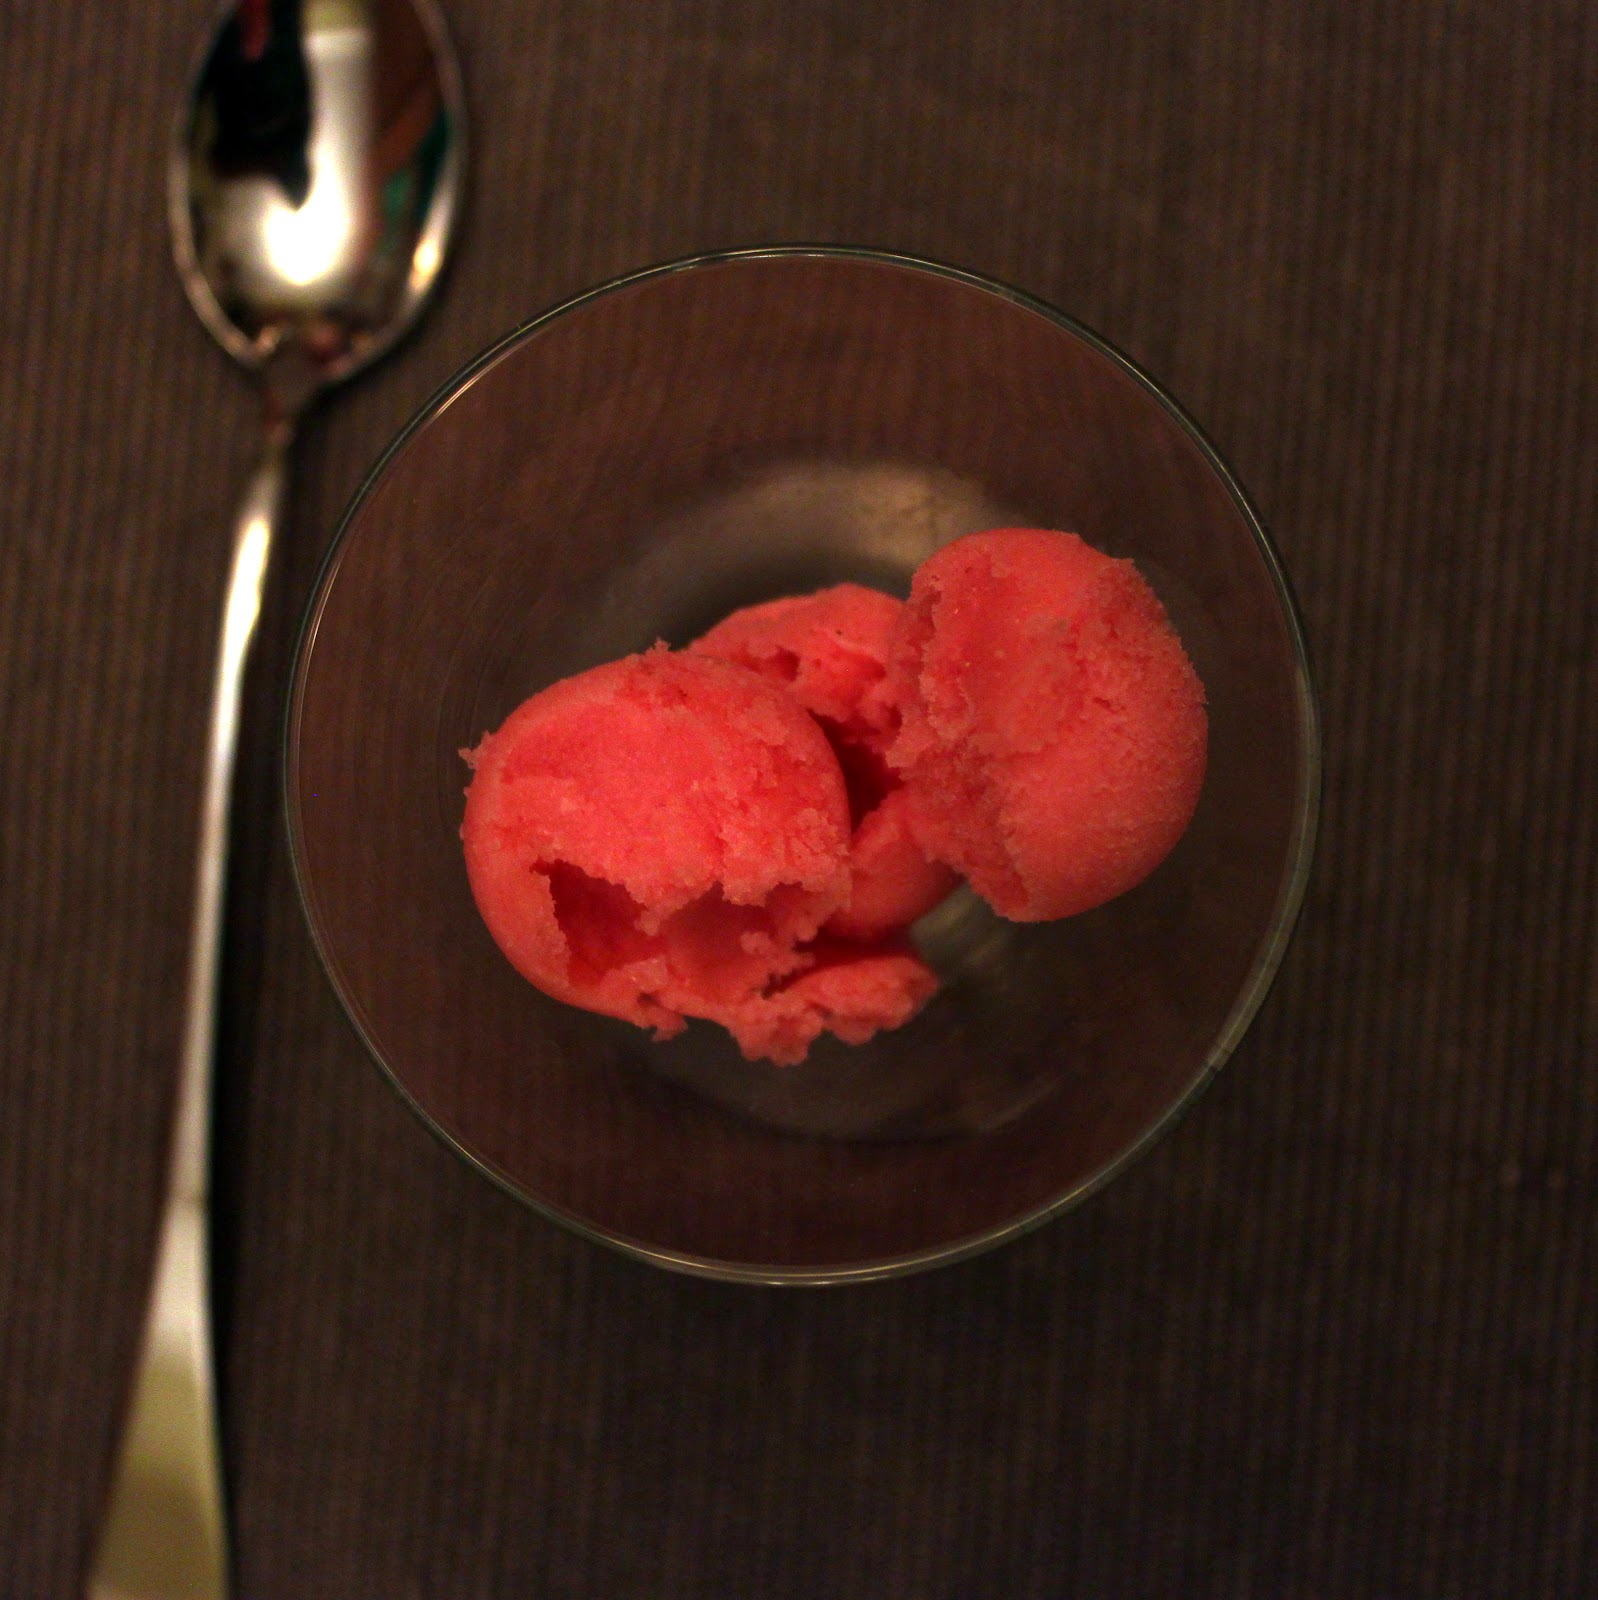
Spiced pear and cranberry sorbet

Pumpkin semifreddo
Vanilla, cinnamon and orange ice cream

Winter squash soup with gruyere cheese
Pear and pomegranate salad

Pulling together the dinner was simple, but time-consuming. The most challenging part of it was not the cooking, but the size of our kitchen. Only two people at a time can fit in our tiny apartment kitchen, so when we have to cook for guests, they usually have to wait in the living room awkwardly while Aaron and I get things ready. This is merely exacerbated when you have guests staying with you or are cooking a large feast, as much of the cooking must be done while the guests are there. 

Though we have already put the plans in motion to move, this weekend made it clear that we can't get to an actual house soon enough. Friends know that I have long dreamed of escaping urban apartment living for a home with windows on four sides. Entertaining my family for Thanksgiving simply revealed that more space might be even more important than natural light!

Semolina bread
The bird!
Anyway, back to the meal. This is what my plan of attack looked like:


Saturday: Made squash soup to freeze, made macaron shells
Sunday: Made cranberries, filled macarons, made ice cream and sorbet
Monday: Made pumpkin semifreddo
Tuesday: Trimmed brussel sprouts, deconstructed the pomegranates, brined turkey, made bread dough
Wednesday: Assembled and baked tart, assembled root vegetable puree, made whipped cream, shaped the bread, removed turkey from brine
Thursday: In order, Baked bread, roasted squash, roasted turkey, made salad, made and roasted stuffing, sauteed brussel sprouts, roasted root vegetable puree and broccolini, reheated and broiled soup.

I managed to space the work out over enough days that when my family did arrive on Tuesday night, I had time to go out to dinner, and then on Wednesday I was free enough to take them into the city for a leisurely lunch. Sure, Aaron spent much of the day in the kitchen on Thursday, but he was the one that demanded the turkey. I'm not sure there is a way to make turkey simple unless it is catered.


It was well-planned and successful, but not without a few disasters. Let's just say that so-called "brining bags" are not strong enough to withstand the pressure of a 12 pound turkey and a few liters of liquid. Since I took care of most everything else, as mentioned above, I left Aaron in charge of the turkey. It was mostly for him, after all. I had put forth numerous other meat options... crown roast of pork, cornish hens, standing rib roast... etc. NO, he wanted his traditional Thanksgiving turkey. Fine. I can deal with turkey but I don't want to be responsible for putting it in the oven at the crack of dawn and keeping it basted all day.

Root vegetable puree

He didn't complain about the assignment, instead eagerly diving into the task. I sent him a few recipes to check out and he settled on a brined turkey. Neither one of us had ever brined a turkey before (or really knew what brine was!), so this was going to be interesting. Aaron finished preparing the brine just as my family arrived. I left Aaron home alone for a little while so I could escort them to their hotel. They were staying in the new W that had opened down the street.

Not five minutes after greeting them in their hotel room my phone rings. It is Aaron, frantically yelling that turkey brining bags don't work. I get a startled look on my face and slowly ask if the turkey is okay, which sends my father into a fit of laughter. Nothing like a little turkey mayhem to entertain the 'rents. Apparently, Aaron poured the brining liquid into the bag, added the turkey and sealed the bag. When he lifted the bag to put it into the fridge, it burst sending germ-infested turkey brine spraying all over the kitchen and the refrigerator. Gross. He was a hero and managed to get it all cleaned up before I got back from the hotel, but not without getting sticky brine in the hinges of the refrigerator doors, which proceeded to groan every time they were opened for the rest of the weekend.

Broccolini
Furthermore, when the bird was finally in the oven it was impossible to tell when the stupid bird was ready. Internet research indicated that it should take about four hours for the bird to cook. On hour five, Aaron and I still weren't sure that we had reached the salmonella safety zone; a thermometer stuck in the thigh registered 163 degrees. Refusing to believe the first thermometer, we stuck a few more in various places, each reading a temperature just below what the USDA recommends. Nuts. After another 20 minutes, the temperature was still too low and folks were starting to get hungry and anxious.

Dad: Hey Jen, is the turkey done?
Me: No. The thermometer says we could still get salmonella.
Dad: (laughing) We're not going to get salmonella.
Me: Hmm... okay, if you say so. I guess the turkey is done then.

For some reason his assertion was enough for me to ignore everything I had ever learned about bacteria and food safety. At least if we got sick maybe Aaron would never make us cook a turkey again. Aaron pulled the bird out of the oven and dinner was served shortly thereafter. Dad was right and nobody had to go to the hospital. Aaron still wants turkey for dinner next year.

Cranberry with persimmons
Needless to say, I can guarantee that I will never again be dealing with turkey. I am so over it. Unless Aaron is cooking the turkey, our household will make a tradition out of an alternative meat. I'm open to suggestions, as long as it is low effort and it is easy to tell when it is done.

Spiced pear and cranberry sorbet

I closed the meal with a Maple Pecan Tart and Pumpkin Semifreddo. Both were carefully chosen as "lighter" options to end the heavy meal. Though the pecan tart was not exactly light, using a tart pan instead of a pie plate helped with portion control as the tart pieces were thinner than pie pieces would have been. The semifreddo served as the perfect closer - icey cold and refreshing, with a light airy texture. It served as a nice contrast to the butter laden food from dinner. With that, Thanksgiving 2010 drew to a successful close. Time to start thinking about next year!

Pumpkin semifreddo topped with whipped cream and homemade granola

Maple pecan tart
Just writing up two of the simpler recipes this week. You can find them after the jump. Enjoy!


Sunday, November 21, 2010

Prepping for Thanksgiving: Maple Pecan Pie


I feel like I have lost my holiday hosting mojo. Usually at this time of year, I would have my full menu planned, complete with a shopping list and VERY detailed plan of attack. While Aaron and I are very thrilled to be hosting our second Thanksgiving, I just can't seem to get it together. Lethargy seems to be a trend with me at the moment, as I have neglected this blog for nearly a month!

On Thursday night last week, I finally decided that it was time for some serious menu planning. Now I know that this might be standard operating procedure for most people, but anyone who knows me would be shocked that I hadn't planned Turkey Day 2010 back in 2009. Moreover, the menu is, dare I say it, quite modest - no hors d'oeuvres, just one pie, and appropriately measured serving sizes. Maybe I am ill? I just hope my family isn't disappointed. 


Here is a sneak peak of one of the recipes I am planning to make. I have never made pecan pie before, so I thought I would give it a trial-run before I force it on my family. I made a few alterations, but otherwise the recipe was a success and will be added to my Thanksgiving menu. I like the tart format as it yields smaller pieces than a normal pie. This is important with pecan pie as it is literally death on a plate! And that is really all I have to say about that as the lethargy sets in again.


Over the weekend I managed to pull off a bunch of prep work. Squash soup? Done. Palette cleansing pear and cranberry sorbet? Check. Cinnamon vanilla ice cream to accompany my tart? Finished and in the freezer. I also baked up a failed batch of macarons which are now in the garbage. I am undecided as to whether or not I will try to make a new batch. I guess at a minimum, I should feel relieved that even if I burn the turkey, there will be soup and sweets! 

Hopefully I will be able to get my act together again and post my menu and some photos after the big day. 

Recipe after the jump!

Sunday, October 31, 2010

October 2010 Daring Baker's Challenge: Doughnuts!

The October 2010 Daring Bakers challenge was hosted by Lori of Butter Me Up. Lori chose to challenge DBers to make doughnuts. She used several sources for her recipes including Alton Brown, Nancy Silverton, Kate Neumann and Epicurious.


I used to be so on top of the Daring Bakers challenges, so I am a little disappointed with myself for waiting until the 31st of the month to make, let alone post, my challenge results. It was only with mild excitement that I greeted the announcement that doughnuts were the monthly assignment. I had made them once before and found that between the rising and the frying, it could be a laborious effort. It also pretty much guarantees a huge mess in the kitchen.


I started with a grand plan of making pumpkin doughnuts with a variety of different glazes. As the month quickly passed, I downgraded my plans to plain yeasted doughnuts with maple glaze or a dusting of sugar. On the last day of the month, I decided to settle for cake doughnuts in powdered sugar and very low levels of enthusiasm. The Daring Bakers were kind enough to present 4 different recipes for us to choose from. I settled on the "Old Fashioned Buttermilk Doughnuts", or cake doughnuts by Nancy Silverton.


I had only been exposed to Silverton's bread recipes, and was quite shocked to see that she dabbled in doughnuts as well. Her bread recipes are very fussy, to say the least. I am sure if followed properly, they yield some of the most delicious bread you can bake, but who has time or patience to monitor changes of 1 to 2 degrees in temperature in your dough... or to precisely adjust the rising time to the temperature in your kitchen? A friend gifted me a copy of her La Brea bread book which looked like an exercise in masochism for the home baker. I am just not convinced that I would really be able to detect the differences between a loaf I baked with my own short cuts and a loaf I baked with her perfect execution. Go ahead, call me a fraud.

Based on my knowledge of her through that book, doughnuts just seemed a little sloppy for her; the recipe looked too simple and friendly. It also yielded some of the softest, fluffiest, most flavorful doughnuts I have ever tasted. The secret ingredients seem to be a bit of yeast, which produces more rise than baking powder and baking soda alone, as well as fresh nutmeg which adds some depth to the flavor.


I waited until after I had made the dough and cut it into rings before I began to heat the oil. I just didn't believe that I would be able to finish mixing the batter and shaping the doughnuts before the oil reached the proper temperature. This was a big mistake! Apparently it can take almost half an hour for oil to become hot enough for deep frying while it only takes about 15 minutes to prepare the dough. So my doughnuts sat on the counter, rising slowly, while Aaron complained impatiently about how they were rapidly becoming more of a lunch than breakfast. 


Once in the oil, it took no time for them to cook. The soft dough froze in shape the instant I dropped it into the pot, turning to a golden brown within about 30 to 40 seconds. I allowed them to cool for a few minutes on a baking rack covered in paper towels and then dredged them in a mixture of powdered sugar and cinnamon, moving quickly to ensure they were still warm when served. 

All in all, the recipe was pretty simple and I think I will be making these again! If I had realized just how simple and flavorful they would be, my attitude towards this challenge probably would have been quite different. Next time I am hoping that with a little planning I might have time to try some different flavors and glazes to spice things up... if I ever get around to it. 

Recipe after the jump! 

Sunday, October 24, 2010

Pumpkin Cupcakes


An hour has passed and Aaron is still cleaning up the kitchen. We had a friend over for dinner tonight and it looks like a tornado has hit. So that the boys could enjoy an afternoon of football, I offered to handle dinner on my own. For most people, that wouldn't have been that big of a deal, but I just can't do things halfway. Homemade pappardelle, veal ragu and a batch of cupcakes had taken their toll on the kitchen. I even managed to splatter pomegranate juice on the fridge - don't ask.

I thought about posting photos of the mayhem here (friends might enjoy imagining the horrified expression on Aaron's face when he saw the destruction). I also considered writing step by step instructions for homemade pasta. Nope - that will be saved for another day. For once, I'm going to stick to the original theme of this blog. The cupcakes were outstanding.


I have had pumpkin on the brain ever since my company offsite a few weeks ago. Our Q3 "day of fun" was at one of those "pick your own" produce farms in central New Jersey. After a few hours of presentations, we were released into the fields to pick apples and pumpkins. Let me just say, I take these things VERY seriously, as I planned for my pumpkin to be more than a jack-o-lantern. Ever since I learned about the plans for the offsite, I had been dreaming of making my own pumpkin puree for pancakes, cupcakes, bread, pie... you get the idea. I scoured the patch and managed to pluck an enormous, yet very perfect pumpkin to take home. 

I hauled the pumpkin home and left it in the corner of my dining room. Then I got busy. The pumpkin sat there for a few weeks... and then it molded and I was devastated. Into the garbage it went and I was pumpkin-less. Unfortunately, all of my day-dreaming about pumpkin dessert meant that I wasn't giving up until I had a chance to test a few of them. On our next trip to the grocery store, I picked up two cans of pumpkin and waited semi-patiently for an excuse to use them. 


One can of pumpkin was finished off with pumpkin pancakes for breakfast. This evening's company meant I would have an excuse to try a recipe for pumpkin cupcakes that I had been eying. Aaron begged me to skip dessert and respect the fatwa. Seriously? How could I skip dessert? I think that at this point it is all but expected from our guests. Moreover, I needed to get the pumpkin obsession out of my system. As a compromise, I halved the recipe and made just 8 cupcakes. 

The melted butter (as opposed to room temperature, creamed butter) and pumpkin yield a very moist but very dense cake. 

Recipe after the jump!